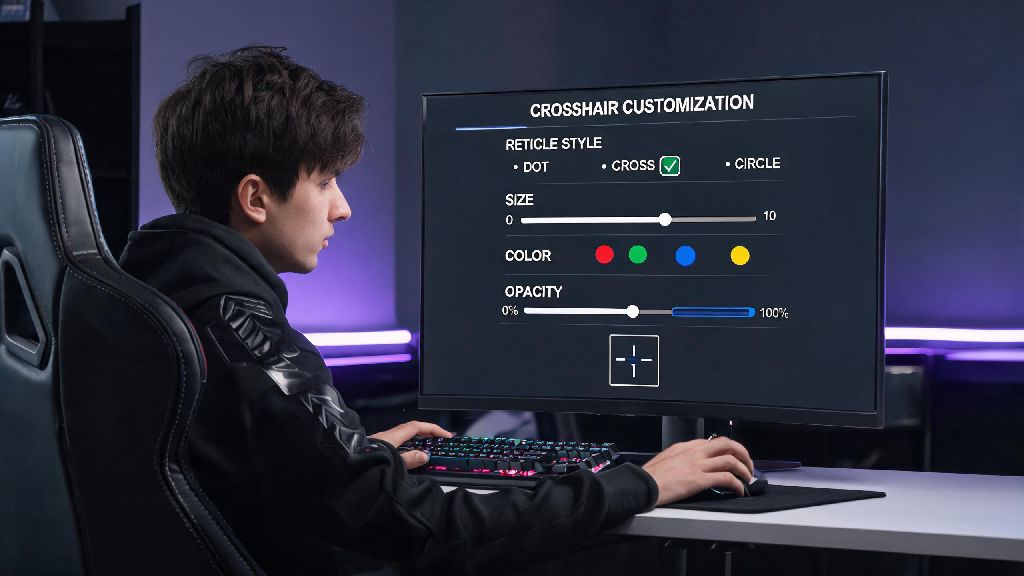
If you’ve ever fired off a perfect skill shot in Deadlock only to miss because your crosshair feels too clunky, too faint, or just wrong for your screen setup, you’re not alone. Most new players skip adjusting their reticle settings in their first few matches, but learning how to change crosshair deadlock configurations is one of the fastest low-effort wins you can get to boost your win rate. I’ve tested over 20 different crosshair setups over the past six months playing ranked Deadlock, and I’ve found that even tiny tweaks can cut your missed shots by up to 30% if you get them right. This guide walks you through every part of the process, from accessing the settings menu to testing your new crosshair in real matches, no third-party tools required.
Where to Find Crosshair Settings in Deadlock
First things first, you don’t have to dig through hidden config files to adjust your crosshair unless you want to. The in-game settings menu has all the options you need for 99% of customizations, and changes take effect immediately so you don’t have to restart the game. To get there, launch Deadlock and click the gear icon in the top right corner of the main menu. From there, select the Gameplay tab, then scroll down to the Crosshair section about halfway down the page.
If you’re in the middle of a match, you can still access this menu by pressing Escape and selecting Settings, though I don’t recommend adjusting settings mid-round if you’re playing ranked. It’s also worth noting that any changes you make here will save to your account automatically, so you won’t have to re-do them if you log in on a different device.
How to Change Crosshair Deadlock Settings for Your Playstyle
Now that you’re in the crosshair menu, you’ll see a range of adjustable sliders and toggles that control every part of how your reticle looks and behaves. You don’t have to adjust every single one if you don’t want to, but I recommend testing each of these core settings to find what works for you:
I’ve seen a lot of players copy pro player crosshair settings directly, but that’s almost always a bad idea. Pro players play on giant 1440p 27-inch monitors with custom color calibration, so a crosshair that looks perfect on their setup might be tiny or washed out on your 1080p laptop screen. Always adjust pro settings to match your own hardware before you use them in ranked matches.
Testing Your New Crosshair Before Playing Ranked
Once you’ve adjusted your settings to your liking, don’t jump straight into a ranked match with them. It takes a few minutes to get used to a new crosshair, and using an untested setup can cost you wins if it feels off mid-game. The best way to test your new crosshair is to load up the practice range first. Spend 5 to 10 minutes shooting stationary and moving targets at different ranges to see if the crosshair is easy to track, and if you can line up headshots quickly without squinting. If you can’t see the crosshair clearly against the practice range’s metal walls, go back and adjust the color or outline thickness before you move on.
Next, load up a casual unranked match to test the crosshair in real gameplay. Pay attention to how it looks during team fights, when there are lots of ability effects on screen, and when you’re looking at different map environments. If you find yourself losing track of the reticle during chaotic fights, you might need to make it slightly larger or brighter. Don’t be afraid to make small adjustments after each match until it feels completely natural. It took me 3 or 4 tweaks to get my current crosshair right, and I still make minor changes every few months if I switch up my main hero pool.
Common Crosshair Mistakes to Avoid
There are a few common mistakes new players make when adjusting their crosshair settings that can hurt their performance more than it helps. The first is making the crosshair way too small, thinking it will make their aim more precise. If you have to strain your eyes to find the reticle every time you move your mouse, you’re wasting valuable split seconds that could mean the difference between getting a kill and getting eliminated. Another common mistake is adding too many extra elements to the crosshair, like a dot in the middle plus outer lines plus a recoil indicator. All that extra visual clutter makes it harder to focus on your target, not easier. Stick to 2 or 3 elements max for the best results.
You also don’t need to use a dynamic crosshair that changes size when you move or shoot unless you specifically prefer that style. Static crosshairs are far more popular for a reason: they give you a consistent point of reference no matter what you’re doing, which makes it easier to build muscle memory over time. The last mistake I see all the time is changing your crosshair every single time you lose a match. It takes at least a few hours of play to build muscle memory for a new crosshair, so if you switch it every other day, you’ll never get consistent with your aim. Stick with a setup for at least a week before you decide it’s not working for you.
Adjusting your reticle settings is one of the easiest ways to improve your performance in Deadlock without spending hours grinding aim drills. Even if you’re happy with your current setup, it’s worth taking 10 minutes every few months to test small tweaks to make sure it still works for your playstyle and hardware. Whether you’re a brand new player still learning the basics or a seasoned ranked player looking for a small competitive edge, taking the time to learn how to change crosshair deadlock settings to fit your needs will pay off in more consistent aim and more wins over time. Don’t be afraid to experiment, and remember that the best crosshair is the one you don’t have to think about when you’re lining up a shot.