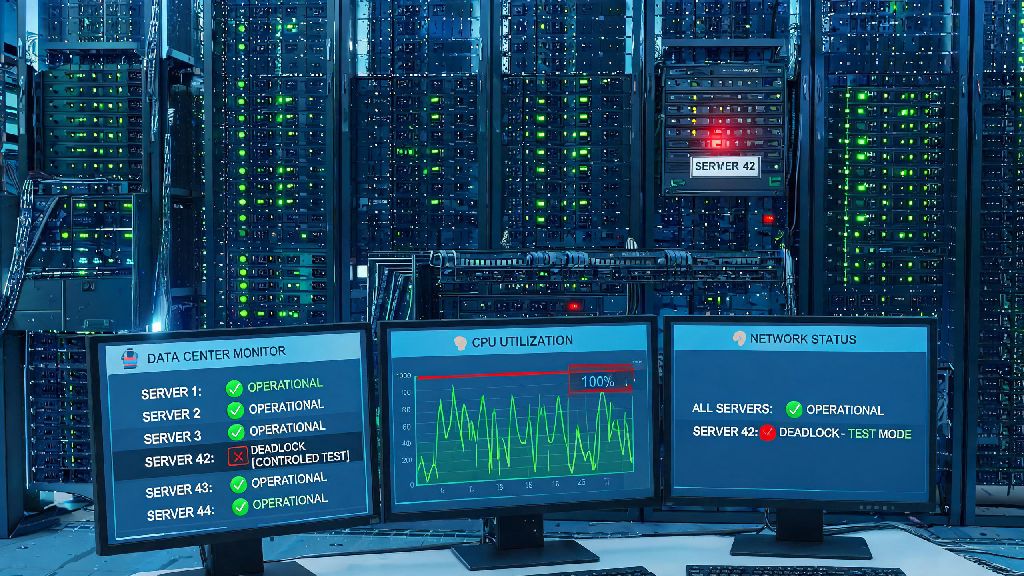
If you’ve ever spent 3 hours debugging a random production deadlock that crashed half your e-commerce checkout flow, you know how costly unplanned deadlocks can be. That’s why more dev and SRE teams are learning how to send deadlock invites intentionally, to test their systems’ response before a real outage hits. You don’t have to wait for peak traffic to find gaps in your deadlock detection rules; controlled testing lets you fix issues on your own schedule, with zero impact on real users. Most teams avoid intentional deadlock testing because they worry about breaking staging environments, but with the right guardrails, it’s one of the most effective ways to harden your system.
What You Need Before You Send Deadlock Invites
You can’t just trigger deadlocks on a random server and expect useful, low-risk results. The right pre-test setup prevents accidental outages and ensures you collect actionable data, rather than just a mess of crashed processes. I’ve seen teams skip these steps and end up wasting 8 hours cleaning up a staging environment they locked up entirely, so it’s worth taking 15 minutes to check off every requirement before you start.
The most critical item on that list is the isolated testing partition. Even if you think your test is small, deadlocks can spread to adjacent processes if your environment uses shared resource pools, and you don’t want to break 3 other teams’ in-progress testing just to run your own. You’ll also want to confirm your deadlock monitoring tools are calibrated to flag deadlocks within 10 seconds, so you don’t miss the exact moment your system detects the conflict. Don’t forget to confirm your rollback protocols work with a quick test run before you trigger any actual deadlocks, too.
Step-by-Step Process to Trigger Controlled Deadlocks Safely
When you send deadlock invites for database testing (the most common use case for most engineering teams), you’ll be creating a classic circular wait condition that meets all four deadlock requirements: mutual exclusion, hold and wait, no preemption, and circular wait. Start small, with low-impact test tables first, so you can get comfortable with the process before testing on workflows that mirror customer-facing features.
First, create two separate test transactions that both need access to the same two database tables, but reverse the order they request row locks. Initiate the first transaction and pause it after it takes out an exclusive lock on the first table, then start the second transaction and let it take an exclusive lock on the second table. Next, let both transactions request the lock they’re missing, and you’ll have a controlled deadlock in seconds. Set a hard 2-minute time limit for all test transactions, so even if your detection tool fails, the system will automatically terminate the stuck processes before they cause larger issues.
For OS-level deadlock testing, the process is similar: create two processes that both need access to two shared system resources, and have each hold one resource while requesting the other. Just make sure you use low-priority test processes that can’t interfere with core OS functions, even if they get stuck for a minute.
Common Mistakes to Avoid When Sending Deadlock Invites
Even teams that do regular deadlock testing make avoidable errors that skew results or cause unnecessary downtime. One of the most common errors teams make when they send deadlock invites is forgetting to set an automatic termination rule for test transactions. If your detection tool misses the deadlock, those stuck transactions can hold locks for hours, slowing down your entire staging environment for every team using it.
Many teams only track if the deadlock was resolved, but they miss critical metrics like time to detect, time to recover, and any residual data corruption from the recovery process. If your SLA requires you to resolve customer-facing outages in under 60 seconds, you need to measure more than just whether the deadlock went away. Another common mistake is running too many deadlock tests at once. If you trigger 12 deadlocks at the same time, your system will be overwhelmed, and you won’t get accurate data on how it handles a single real-world deadlock during normal traffic.
You should also never run deadlock tests on systems that store unbacked-up test data. Some recovery methods, like immediate process termination, delete in-flight data that hasn’t been written to disk, and you don’t want to lose weeks of work from your QA team because you forgot to run a backup before testing.
How to Use Deadlock Test Results to Harden Your System
The whole point of intentional deadlock testing is to fix gaps before they cause production outages, so don’t just log your test results and move on. Once you send deadlock invites and collect your first set of test data, you’ll be surprised how many easy fixes you can make to reduce production deadlock risk by 70% or more, even with small code or configuration adjustments.
Start by comparing your test results to your service level objectives. If it took your system 90 seconds to detect and resolve a deadlock, but your SLA requires 60-second resolution for all customer-facing outages, you know you need to adjust your detection rules or switch to a faster recovery method like preemptive lock queuing. Prioritize fixes for gaps that impact customer-facing workflows first — a deadlock in your checkout flow is way more critical than a deadlock in your internal weekly reporting tool, so tackle those fixes first.
Next, update your deadlock prevention rules for the patterns you found during testing. If you noticed that two common transaction types regularly trigger deadlocks when they run at the same time, you can adjust their lock request order or add a 50-millisecond delay between lock requests to reduce conflict. Share your test results with your entire engineering team too, so developers can avoid common deadlock patterns when writing new code. I shared test results with a backend team building a new inventory management feature a few years back, and they adjusted their transaction logic before launch, avoiding a projected 12 hours of outage during their first holiday sale after launch.
Intentional deadlock testing doesn’t have to be a scary, high-risk process. When you learn how to send deadlock invites with the right guardrails, you turn a random, costly outage risk into a controlled test that makes your system more resilient. You don’t need fancy, expensive tools to run these tests — most built-in database and OS monitoring tools have all the functionality you need to run basic deadlock tests once a quarter. Even if you only run one test a month, you’ll catch gaps you never would have found waiting for a real outage to happen. Over time, these small tests will save you hours of debugging time, and keep your system running smoothly even during peak traffic.