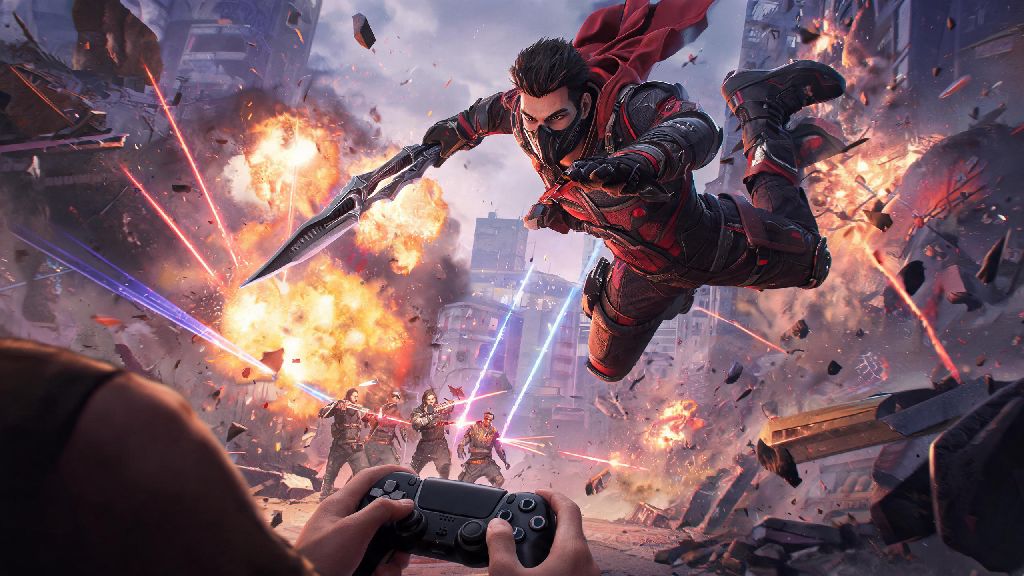
If you’ve ever queued into a Deadlock match and gotten wiped by a rampaging Billy that won’t stop diving your backline, you already know how much of a menace this hero can be when played right. Learning how to play Billy Deadlock isn’t just about spamming his abilities, though—it’s about balancing his high burst damage output with his squishy early-game stats to turn him into an unstoppable force by mid-match. I’ve spent 40+ hours grinding Billy across ranked and casual lobbies, so I’m breaking down everything you need to know to avoid feeding and start carrying with this fan-favorite brawler.
Core Ability Rotation When Learning How to Play Billy Deadlock
Billy’s kit is designed for close-quarters brawling and targeted dives, so understanding how each ability works together is the first step to playing him well. His basic attack deals bonus damage to enemies below 30% health, which makes him perfect for finishing off low targets that try to run away. His signature ability, Raging Charge, is the root of all his playmaking potential—it lets him dash a short distance, stun the first enemy he hits, and deal extra damage based on how far he traveled during the dash.
His second ability, Quick Jab, resets his basic attack timer and applies a 20% slow for two seconds, which works perfectly if you miss your Charge stun or need to chase down a fleeing opponent. His ultimate, Brawler’s Rage, creates a small circle around him that stuns all enemies inside for 1.5 seconds and boosts his own attack speed by 50% for six seconds after activation. Don’t waste your Charge just to secure a single low-health minion—it has a 12-second cooldown at level one, and you’ll be left defenseless if an enemy jungler jumps you while it’s on cooldown.
For most early-game fights, your standard rotation should be: start with Raging Charge to stun your target, use Quick Jab to slow them, then spam basic attacks until they either die or run away. You don’t want to use your ultimate in 1v1 fights unless you’re sure the enemy team has no backup nearby, as it has a 90-second cooldown and is far more valuable in team fights where you can stun multiple enemies at once. I once wasted my ultimate on a solo support at level 5, only to have the entire enemy team show up 10 seconds later and take our first tower with zero resistance from me.
Optimal Builds for Every Match Scenario
Billy’s build can change a lot depending on what heroes the enemy team is running, but there are a few core items you’ll want to pick up in almost every match. You don’t need to buy the most expensive items first, either—cheap, stat-focused early items will help you win trades and get more gold faster than saving up for a single high-tier item. For starting items, grab the basic health pendant and attack speed dagger, which will give you enough sustain to stay in lane longer and clear minion waves faster.
Once you have 1200 gold, you can start building your core item set, which should include these three items first for most matches:
If the enemy team has three or more magic damage heroes, swap the Heavy Plated Boots for Magic Resist Boots instead, and replace the Adrenaline Injector with a Shield Generator that triggers when you take magic damage. If you’re playing against a very tanky team, add a Armor Piercing Gauntlet as your fourth item to make sure your basic attacks still deal enough damage to burn through their health bars. You don’t need to stick to a rigid build every match—adjust based on what you’re seeing in lane and what your team needs from you.
Positioning Tips for Early, Mid, and Late Game
Billy’s playstyle changes drastically as the match progresses, so you can’t use the same positioning strategy from level 1 all the way to level 18. Early game, you should almost never fight unless you have a teammate within 2 seconds of backup. Billy only has 600 base health at level 1, which is lower than almost every other brawler in the game, so you’ll get deleted fast if you try to 1v2 or charge into an enemy lane without support. Spend the first 5 minutes farming minions and only go for kills if the enemy overextends near your tower.
Once you hit level 6 and unlock your ultimate, you can start roaming to other lanes to gank. Stick to the brush near enemy lanes so you don’t get spotted before you can charge, and always target the enemy hero with the lowest health first to get an easy kill. By mid game, your priority is targeting the enemy team’s support and damage carries first. These heroes have the lowest health and highest impact on team fights, so taking them out first will make it almost impossible for the enemy team to win a 5v5. Don’t waste time attacking the enemy tank unless they’re the only target available.
Late game, you want to stay right behind your team’s front line until the fight starts. Don’t charge in first, as the enemy team will likely have crowd control abilities waiting to lock you down before you can do any damage. Wait for your tank to initiate, then use your ultimate to stun as many enemies as possible, then charge the closest damage carry. If you time it right, you can take out two enemy backline heroes before they even get a chance to use their abilities.
Common Mistakes to Avoid With Billy
Even after you master his abilities and build, it’s easy to fall into bad habits that will make you lose more matches than you win. The biggest mistake new Billy players make is overextending without checking their team’s positioning. It’s easy to get excited when you see a low-health enemy running away, but if you charge after them and your team is 10 seconds behind, you’ll just end up feeding the enemy a free kill. I still catch myself doing this sometimes, so I’ve gotten into the habit of glancing at the minimap before every charge to make sure my team is close enough to back me up.
Another common mistake is using Raging Charge as an escape tool. While it does move you quickly, it only travels in a straight line, and if you use it to run away, you’ll have no way to fight back if the enemy chases you. You’re almost always better off using Quick Jab to slow your pursuer and running back to your team normally, saving Charge for when you can turn around and fight. You also don’t want to waste your ultimate on a single enemy unless that enemy is the enemy team’s main damage carry and you’re sure you can get the kill.
Never use your ultimate ability right after you use Charge. If you charge first, you’ll already be right next to the enemy, and they’ll be able to run out of your ultimate circle before the stun triggers. Instead, use your ultimate first to stun a group of enemies, then charge the highest-value target in the group to get an easy stun lock. This small change alone will make your team fights far more effective, and you’ll get way more multi-kill opportunities than you did before.
At the end of the day, the best way to get comfortable with this hero is to jump into a few casual matches and test out different rotations and builds for yourself. Once you get the hang of how to play Billy Deadlock, you’ll be able to turn almost any losing team fight around and climb ranks faster than you expected. Don’t get discouraged if you feed your first few matches—even the best Billy players started out accidentally charging into 4 enemy players at level 2. Take notes on what works and what doesn’t, and you’ll be a Billy main in no time.